

Hose Clamp Screw Spinning? How to Tell Band Slippage, Stripped Threads, and Sizing Errors Apart
Quick answer
If your hose clamp screw spins but the clamp does not get tighter, stop adding force. Watch the adjustable band tail: no movement points to engagement or hardware; movement without a snug loop points to length or sizing. A tight clamp with a leaking joint calls for whole-connection troubleshooting.
On a worm-drive clamp, the screw should engage the slots in the band and pull that band through the housing. If the screw turns but the band tail does not move, inspect the screw-to-band engagement first. If the band moves but the loop never becomes snug, check cut length and installed diameter before assuming the fastener is stripped.
This guide applies to Ouru’s cut-to-length stainless-steel banding kit and similar worm-drive assemblies. It does not provide a universal repair method for spring, T-bolt, ear, or other clamp systems. Before working on an installed fluid connection, shut down the equipment, isolate the supply, relieve residual pressure using the approved equipment procedure, and let hot components cool. Never loosen a clamp on a pressurized or hot system.
Band stays still
Inspect engagement and hardware.
Inspect engagement and hardware.
Band moves, loop stays loose
Check length and installed diameter.
Check length and installed diameter.
Clamp tightens, joint leaks
Inspect the whole connection.
Inspect the whole connection.
Start by Watching the Band, Not Just the Screw
Different problems can feel almost identical at the screwdriver. Use visible band movement to choose the next inspection.
| What you see | Check first | Likely next step |
|---|---|---|
| Screw rotates but band tail does not move | Band engagement, housing alignment, band slots | Stop and inspect the fastener unloaded |
| Driver slips in the screw head | Driver size and screw-head damage | Stop before damaging the head further |
| Band tail moves, but loop stays too large | Cut length, overlap, installed diameter | Recheck sizing and assembly |
| Band advances, then jumps backward | Band slots, worm thread, housing alignment | Treat as possible damage or lost engagement |
| Clamp tightens, but joint still leaks | Hose, fitting, position, clamp type | Troubleshoot the whole connection |
Ouru’s kit uses a continuous cut-to-length band and separate worm-drive fasteners. The official instructions say to start through the opening without the toothed tab. Feeding the band through the toothed-tab opening first or bending the fastener is incorrect. A screw that spins without pulling the band may therefore indicate incorrect assembly rather than stripped hardware.
Check Whether the Band Is Actually Engaged
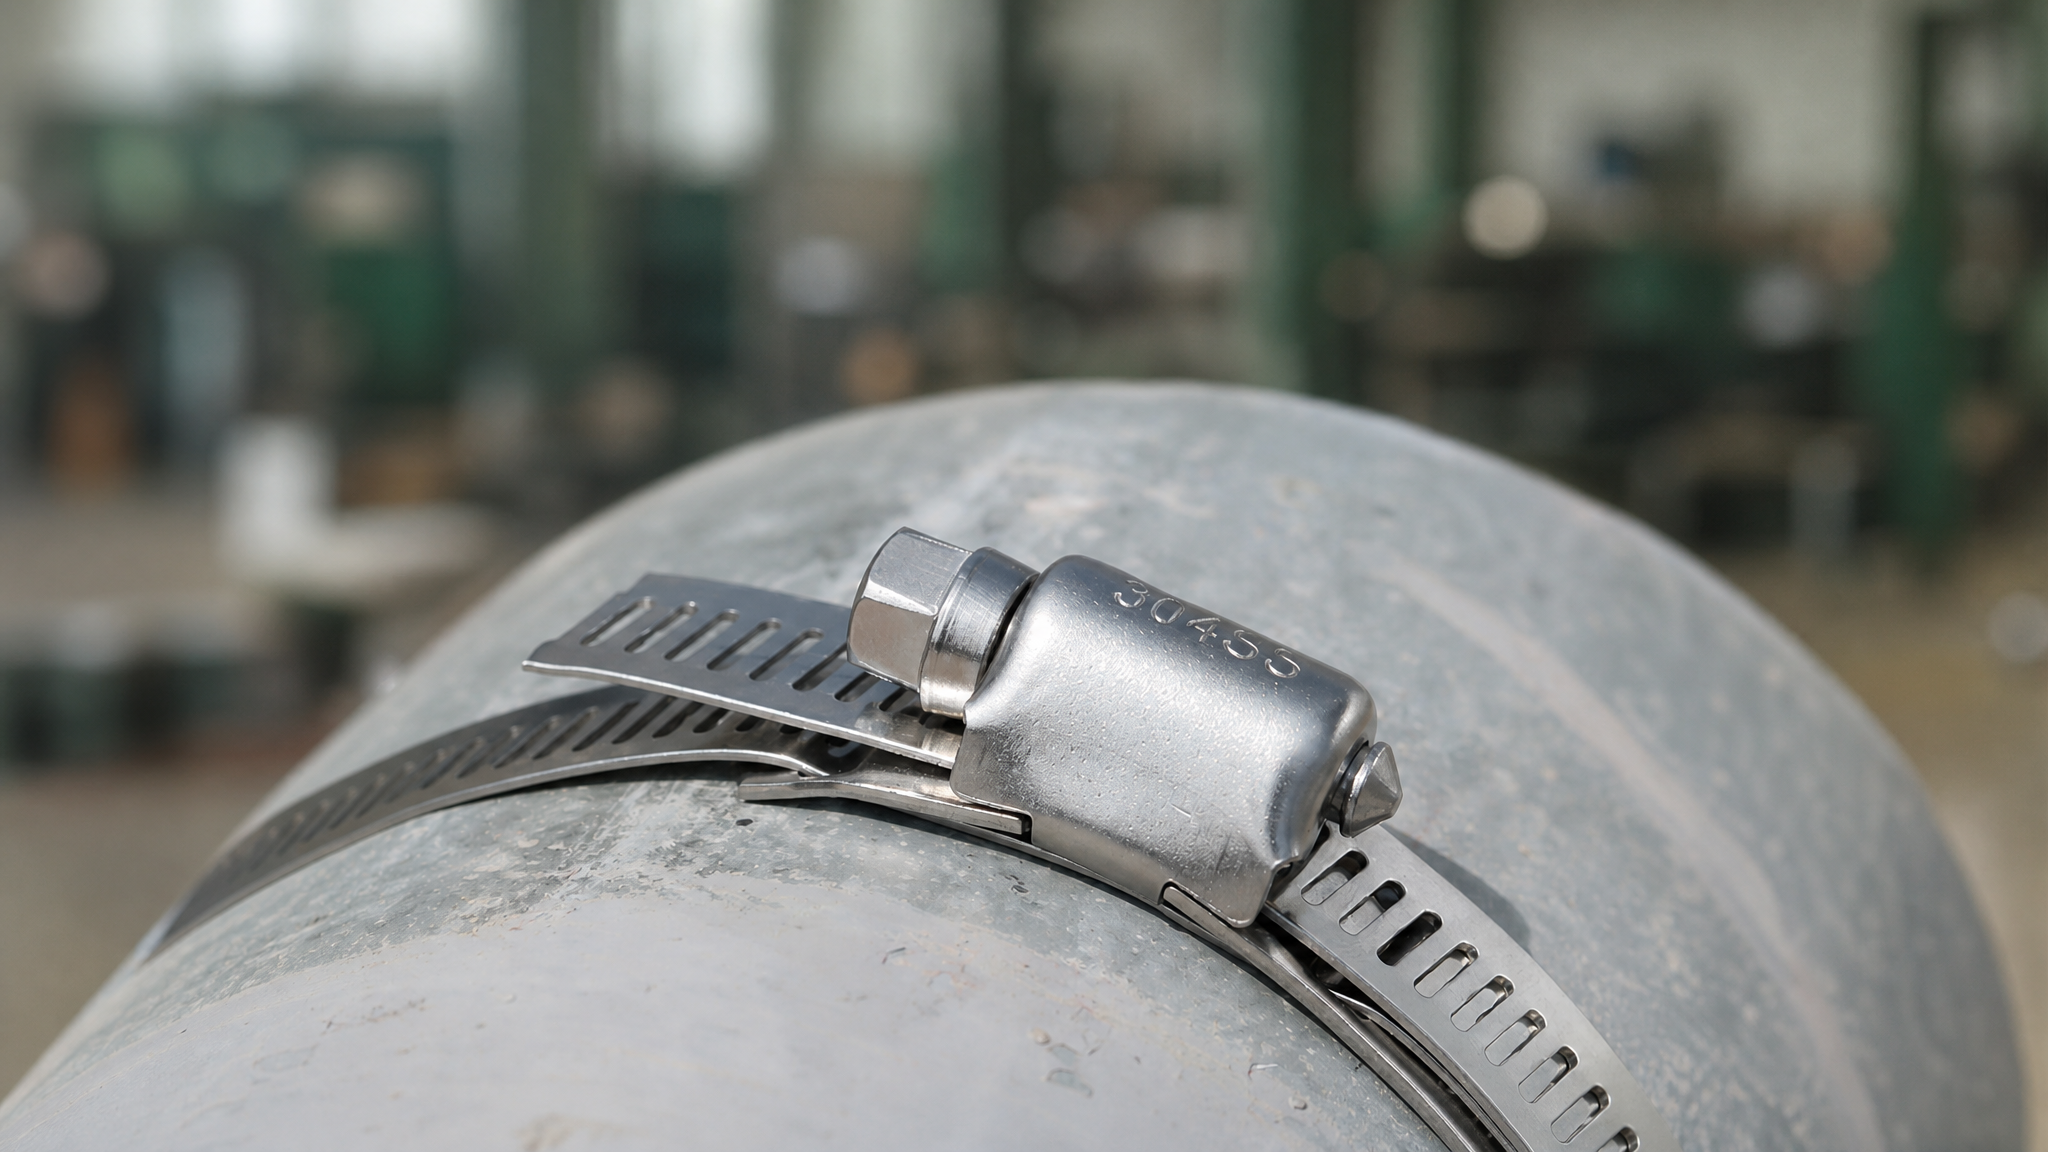
Diagnose the fastener with the clamp unloaded whenever the installation can first be made safe. Turn the screw slowly and watch the adjustable tail. In a functioning worm-drive assembly, the screw thread meshes with the band slots and moves the strip through the housing.
Compare your assembly with the official product instructions. Confirm that the anchored end started through the correct opening and that the adjustable tail enters the screw mechanism straight. The strip should sit in its intended path rather than alongside the engagement zone.
Inspect the entry area for a sharp burr, kink, twist, or badly distorted slot. Use a cutting tool suitable for stainless steel, remove burrs, and protect the portion of band that must engage the housing. Do not bend the housing to force the screw closer to the strip.
If correcting the path restores smooth movement and the components show no damage, the original issue was assembly—not necessarily a stripped fastener. For the full sequence, see our DIY hose clamp kit assembly guide.
How to Recognize a Stripped Hose Clamp Screw or Damaged Engagement
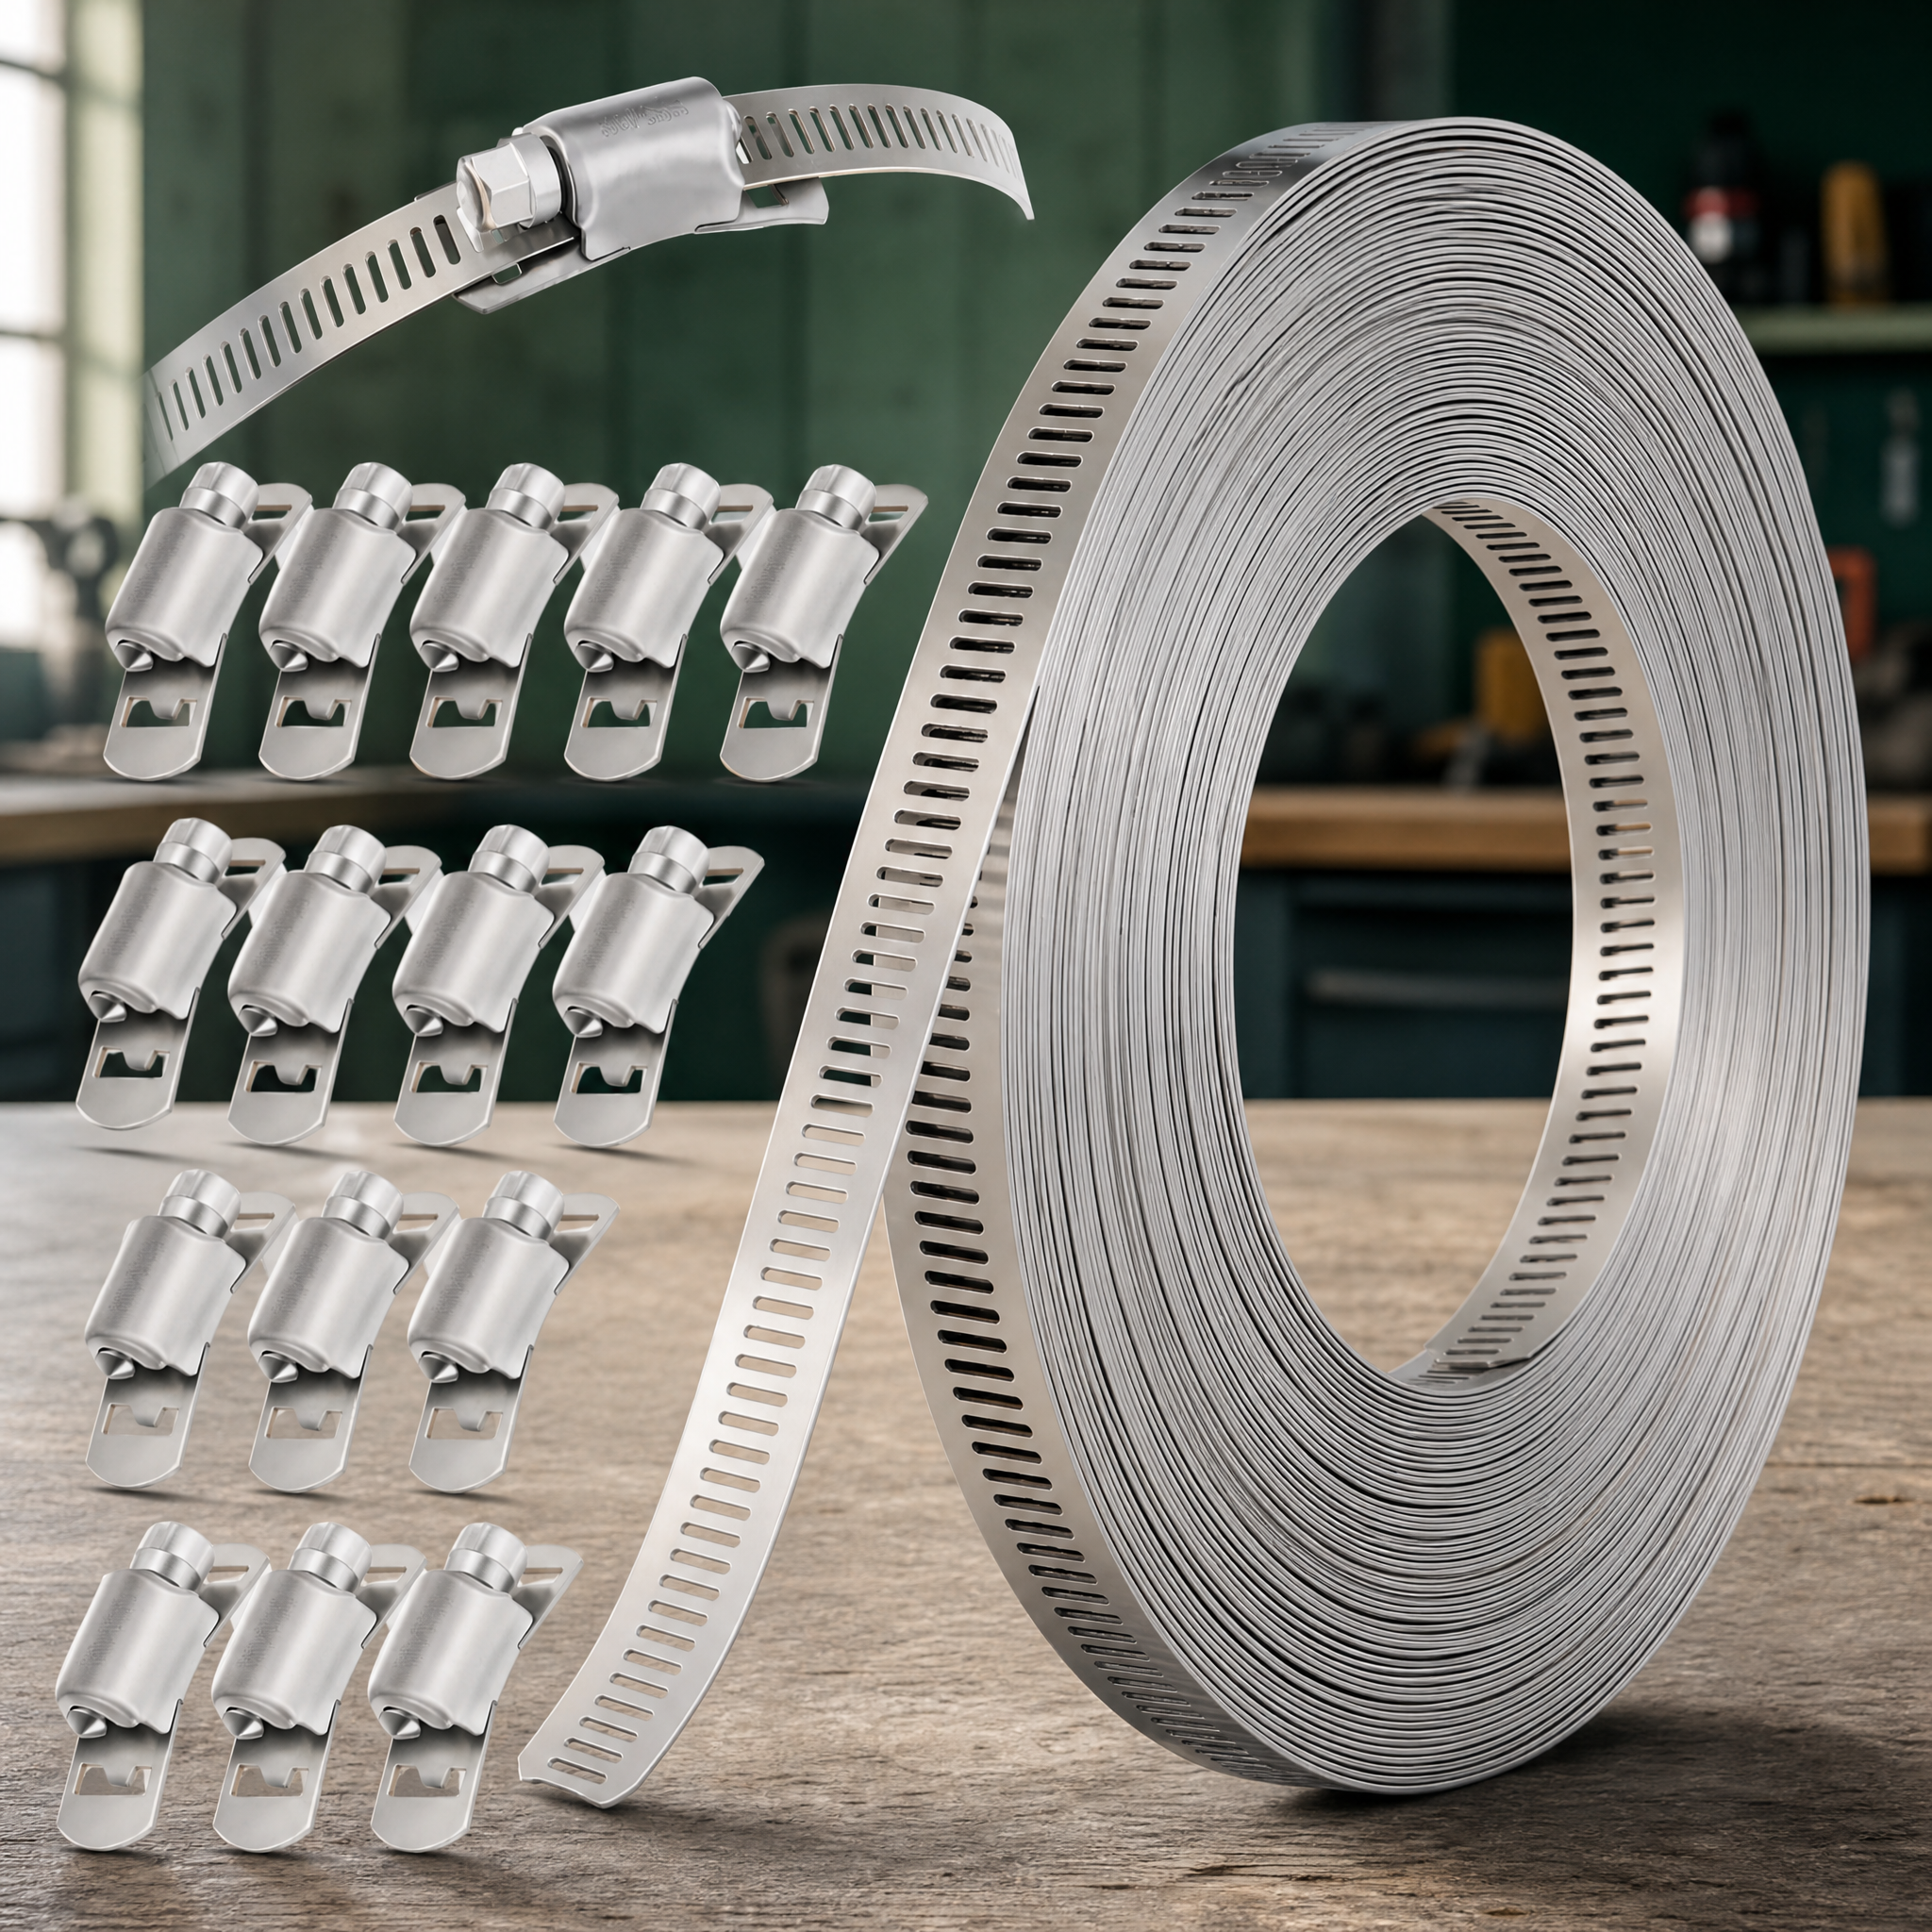
The phrase stripped hose clamp screw can hide several failure points. The screw, perforated band, and housing work together: the screw must mesh with the slots while the housing keeps the parts aligned. A damaged slot or spread housing can produce the same free-spinning feeling as damaged screw threads.
With the clamp unloaded, inspect:
- Band slots: torn, stretched, rolled-over, or visibly deformed openings.
- Worm screw: obvious thread damage or an irregular thread profile.
- Housing: spreading, bending, or lost alignment.
- Band path: a strip riding beside the intended engagement zone.
Replace damaged parts instead of continuing to add torque. If the band advances and then jumps backward under hand tightening, stop: further tightening can worsen damaged slots or deform the housing. More torque is not a repair for lost engagement.
An undamaged section of band may be usable with an undamaged compatible fastener, but do not feed stretched or torn slots through a new lock. Reuse depends on the condition and compatibility of the actual parts.
When the Real Problem Is Band Length or Size
If the band moves correctly but the clamp still will not tighten, inspect the geometry of the assembled loop. Measure where the clamp will actually sit, with the hose installed on the fitting. Use the installed outside diameter, rather than the hose’s nominal inside diameter alone.
The cut strip needs sufficient material for both the fixed-end anchor and working engagement at the screw. Ouru’s public product FAQ advises sufficient overlap but does not give a numerical minimum overlap or working-engagement length. Do not substitute an arbitrary rule such as “leave one inch extra.”
If only a few slots reach the mechanism, contact Ouru before cutting another section. The question is not simply whether the strip goes around the hose: it must also remain properly engaged in the fastener. Operating at the limits of a clamp’s usable range can contribute to stripping or other damage.
Use the Ouru hose clamp size guide for general measurement guidance.
If the Clamp Tightens but the Joint Still Leaks
A continuing leak after normal band movement and tightening is not automatically a screw problem. Inspect the hose for cracks, hardening, deep grooves, swelling, cuts, and permanent deformation. Check the fitting for a damaged barb, bead, sealing surface, or distortion.
Confirm that the clamp sits on the intended clamping zone, not partly on a taper or unsupported hose edge. A tighter or new clamp cannot repair a damaged hose or fitting. See our general hose clamp troubleshooting guide for related symptoms.
Do not repeatedly add torque to chase a leak. Installation torque differs from destructive or durability-test torque, and a screw torque rating does not establish the working-pressure rating of a hose assembly. Confirm the model-specific installation requirement; do not infer it from an undefined figure in a product image.
Suitability depends on the hose, fitting, pressure, temperature, medium, and system requirements. A broad application list does not establish approval for safety-critical fuel, brake, gas, or high-pressure hydraulic service.
What to Replace and What to Check Before Reusing
If the driver slips rather than the screw rotating freely, confirm the tool fit first. Ouru lists a flathead screwdriver or a compatible 8 mm socket for this kit. Stop if the head is being damaged.
If the correct driver turns the screw but the band repeatedly fails to move, unload the assembly and inspect it. Replace a fastener with damaged threads or a deformed housing. Replace or cut back banding with torn or stretched engagement slots, provided the remaining material meets the assembly requirements.
If parts are undamaged and the only issue was incorrect threading, reassemble using the official sequence and verify smooth movement before reinstalling. Restore an installed connection to service only through the applicable equipment or hose manufacturer’s inspection and test procedure. Never invent a pressure test or search for leaks with your hand. Looking tight does not prove a system is suitable for service.
Need help identifying the problem?
Contact Ouru support with your order number, kit variant, installed outside diameter, and clear photos of both housing sides and the band slots that were inside the mechanism. These details help distinguish misassembly, damage, and insufficient band length.
Frequently Asked Questions
Does a spinning screw always mean the clamp is stripped?
No. Incorrect band entry or alignment can also prevent engagement. Inspect the unloaded mechanism and the band path before deciding which part needs replacement.
Why does the band move but the clamp stay loose?
Recheck installed diameter, cut length, anchoring, and available working engagement. Do not keep trimming until you have confirmed the correct assembly requirements.
Can I reuse the fastener?
Only if the compatible components remain undamaged and assemble correctly. Replace deformed housings, damaged screw threads, and torn or stretched band slots.
Should I tighten harder if the joint still leaks?
No. Inspect the hose, fitting, clamp position, and application, and follow the model-specific installation requirement.
Remember: watch the band, not just the screw.
No band movement: inspect engagement and hardware. Band movement without a snug loop: check length and size. Tight clamp with a leak: inspect the whole connection.

Metal Strapping +Fasteners Kit- 10/20/30/50 PCS
Use code Blog for 15% off your order.
- CUT TO FIT: Trim the band to create the exact clamp size you need.
- 304 STAINLESS STEEL: Rust- and corrosion-resistant for reliable indoor and outdoor use.
- ADJUSTABLE & REUSABLE: Easily tighten, loosen, and readjust with a screwdriver or 8 mm socket.
$37.99 USD
 Metal Strapping +Fasteners Kit- 10/20/30/50 PCS
From $23.99 USD
Choose options
Leave a comment